
Citizen science
Sole searching
Try making your own footwear marks at home.

Completed
March 2019
About this activity
This activity will help us discover what marks are made by different shoes as people move in different ways. It's suitable to use as a classroom activity or try at home and we expect this activity to take around an hour (including discussion).
This activity was part of the British Science Week 2019 pack of experiments for Secondary Schools.
Kit list
- oil (olive, rapeseed, vegetable all work well)
- hot chocolate powder
- small paintbrush
- paper
- paper towels/cloths for wiping your shoes
- sole searching scale or a 30 cm and 10cm ruler (tape these together so that you make an L shape that is 30cm x 10cm)
- camera (on your phone is fine)
- sticky tape
- a tripod (if you have one)
Watch out!
There is a risk of slipping during the activity. Make sure you do this on a flat surface - outside is best - and tape the test paper down where possible. Clean your shoes after making the footwear marks.
Instructions
Please carry out this activity outside. A flat surface will make the best prints!
Our instructions are available in video and text form.
- Take photos of the sole of your shoe, each side of the shoe and the top of the shoe.
- Lightly paint the bottom of your shoe sole with the oil – don’t use too much. You might get a clearer print if you stand on a scrap piece of paper to remove excess oil.
- Put on your shoe and stand on the paper to make a single shoeprint. Try and get the shoeprint all onto one page. Don’t forget to clean your shoes!
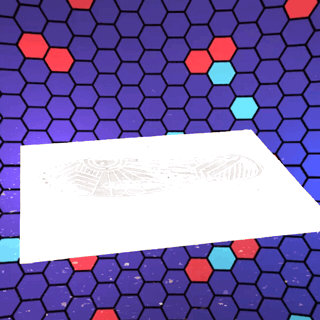
- If you can’t see the mark then brush some of the hot chocolate powder onto the print and that may help show it clearly. Blow away any excess powder.
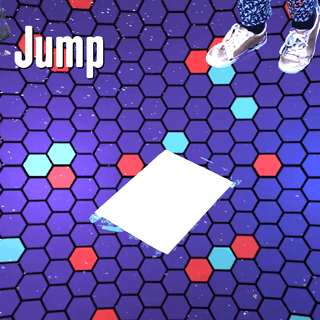
- Make different shoeprint marks by running, jumping and walking on the paper (use a new piece of paper each time). The easiest way to set up the experiment to run is to take a test run from a marked starting place and get a friend to put down the paper where you place a foot on the floor. Tape down the paper and run again, you should land on the paper!
- Repeat each shoeprint for each condition 6 times so that you can see variations that may happen, even with the same shoe. Make sure you write on the paper with the print which one is which (for example, Jumping 1, Jumping 2).
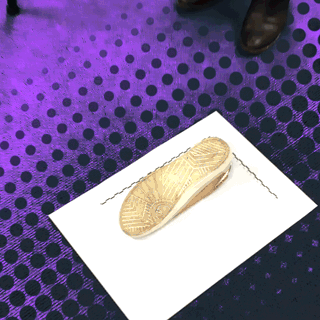
- Take images of your prints with the scale provided. Put your ruler down beside the shoeprint so that it is framed within the ‘L’ shape of the ruler. Stand above the print and holding the camera straight over the print so that it is at 90 degrees. Use a tripod if you have one.
Leverhulme Research Centre for Forensic Science
[email protected]Downloads
- Type
- Download