
Guide
Print using a University printer from a staff macOS device (new HP printers)
Updated on 4 December 2024
Printing to old printer names such as Tower-Canon-iR5235 will no longer work. You should remove the older printers (see below).
You can print to any printer on campus, the new HP SecurePrint_BW_MAC & SecurePrint_Colour_MAC queues are automatically added to your device.
- Using a Windows device? See our guide for printing on Windows.
Install printers on a managed macOS device
If you can’t see the new print queues, following these steps to install them onto your device.
- Ensure your device is connected to eduroam or a wired campus connection.
- Open Mac Self Service app from your /Applications folder and select the ‘Printing’ category from the browse section or search for My Print in the search box.
- Select My Print and Install.
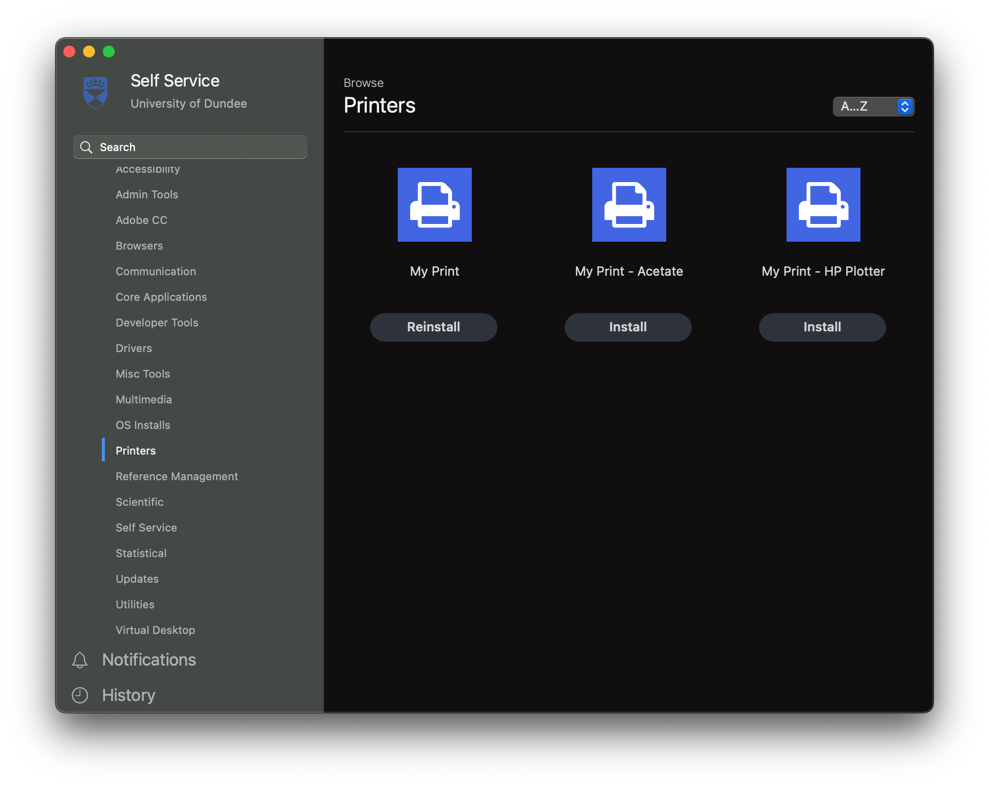
- After a few minutes the HP drivers and SecurePrint queues will be installed.
Send your document to print
Go to the print option in the application you're using. In the list of printers you will see
- SecurePrint_BW_MAC on myprint.dundee.ac.uk
- SecurePrint_Colour_MAC on myprint.dundee.ac.uk
Choose BW to print in black and white, or Colour to print in colour.

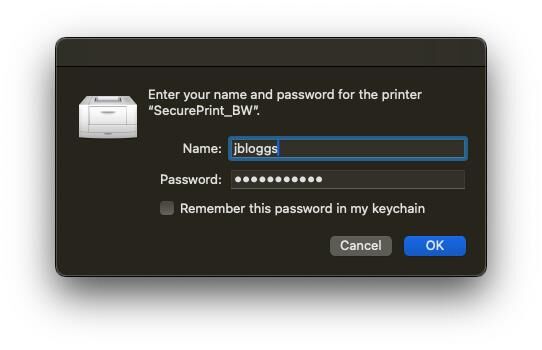
The first time you print, if a macOS login popup appears, enter your short username (without @dundee.ac.uk) and password, and select Remember this password to my keychain.
Release and collect your work
When you send your work to print it will stay in the queue for 24 hours, it will only print when you go to a printer to release it.
To release the documents you have sent to print
- Hold your staff card against the card reader below the touch screen
- You need to register your card the first time you use it, find out how below.
- Tap the Print Release icon on the left of the touch screen to show your print jobs
- Use the check boxes to choose which jobs you wish to print
- Press Print
Register your card (first time)
If this is your first time using My Print you will need to register your Staff ID card with the My Print system.
- Hold your staff card against the card reader below the touch screen
- Log in to your University account using the keyboard on the touch screen
Print from your own laptop or phone
You can use Web Print to print from your own device or mobile
- Log in to My Print with your University username and password
- Click or tap on Web Print and select Submit a Job
- Select if you want to print in colour or black and white
- Colour printing: Secure_Webprint_Colour (virtual)
- Black and white: Secure_Webprint_BW (virtual)
- Click or tap Print Options and Account Selection
- Enter the number of copies required
- Click or tap Upload Documents
- Click or tap Upload from Computer and select your documents
- Click or tap Upload Job
- Follow the instructions to release and collect your work as normal
This service is more limited than printing from a University PC. There is a size limit of 100mb and you can only upload: PDF, bmp, dib, gif, jfif, jif, jpe, jpeg, jpg, png, tif, tiff
If you wish to print a Word document or similar, you will need to save it as PDF first.
Log in with your full username when using My Print printers
✅ [email protected]
❌ jbloggs
- Your card is now registered, tap it again to confirm the registration
How to add optional print queues
- Ensure your device is connected to eduroam or a wired campus connection.
- Open Mac Self Service app from your /Applications folder and select the ‘Printing’ category from the browse section or search for My Print in the search box.
- You should see the optional queues available to install.
If you cannot see anything related to My Print in Self Service follow these steps:
- Ensure your device is connected to eduroam or a wired campus connection.
- Select Force Device Check in, this will ensure your device has the latest available policies from Self Service
- Quit Self Service
- Open Mac Self Service app from your /Applications folder and select the ‘Printing’ category from the browse section or search for My Print in the search box.
Remove old printers from your macOS device
To remove old Canon (or other) printers from your computer
- Click Apple menu then System Settings
- Scroll to Printers & Scanners
- Click the name of your old printer
- Click Remove Device
Apogee customer services
For problems with HP multi-function printers in staff areas